Shop Tours Worth the Watch: What 7 Maker Studios Get Right (and What's Pure Set Dressing)
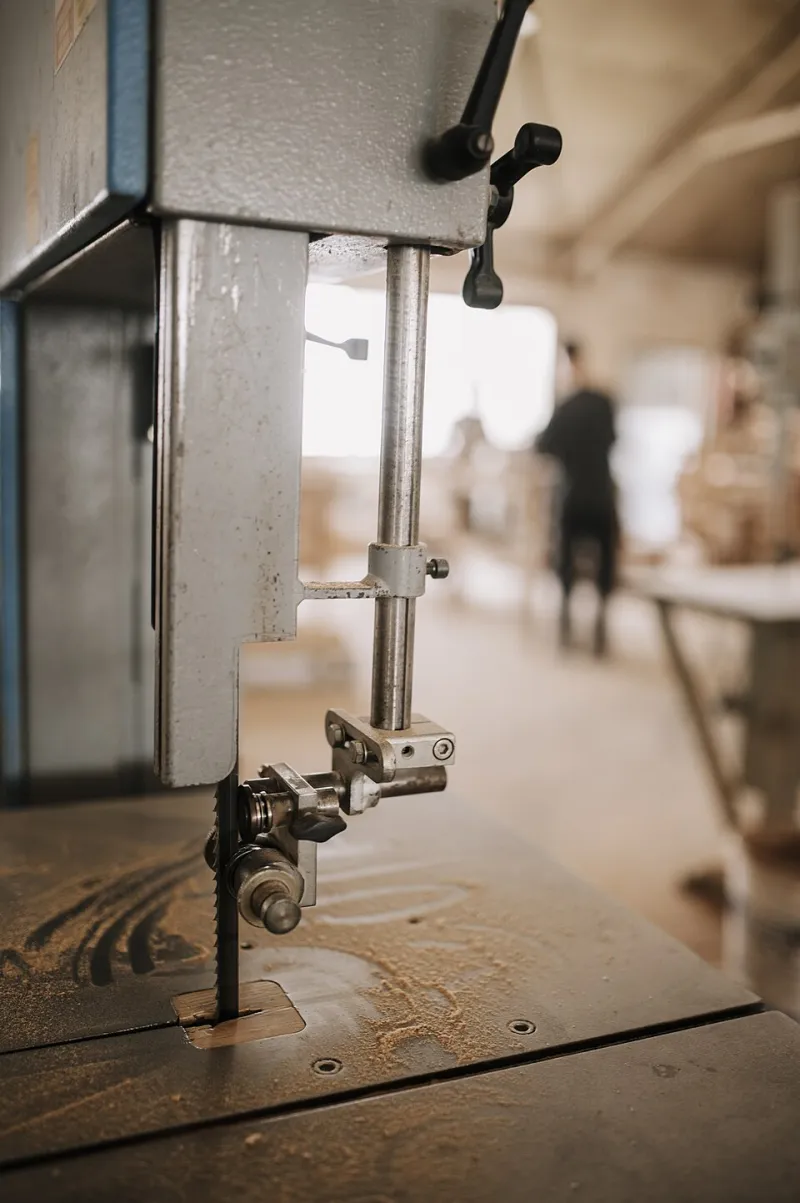
Photo: Shixart1985, CC BY 2.0, via Wikimedia Commons
There's a specific genre of video that hits different at 11 p.m. on a Tuesday: the shop tour. A creator walks you through their space, dust collector humming in the background, and you get to imagine what your garage could be if you had the money, the square footage, and the discipline to put tools back where they belong.
We watched a lot of these. Like, an unreasonable amount. And we came away with a breakdown of what actually works in a recording-friendly shop — and what's just there to look good in a wide shot.
The Cathedral Ceilings Problem
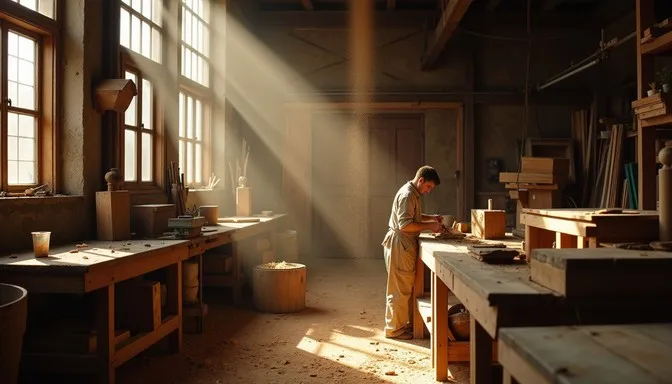
The first thing you notice touring the big-name maker shops: space. These aren't two-car garages in suburban Ohio. They're dedicated buildings with 16-foot ceilings, radiant floor heat, and enough room for a dedicated camera corner that never gets touched by actual work.
Is it aspirational? Absolutely. Is it useful to you? Mostly no. But here's the takeaway hiding in all that square footage: every one of these creators zones their shop into messy zones and clean zones. The assembly table and finishing area stay camera-ready. The rough work happens where the camera doesn't point. You can do the same thing in a 400-square-foot garage — just point your camera at the clean half.
French Cleats Everywhere (And Why That Matters)
Wall storage is the unsung hero of the watchable workshop. The best tours we saw — think wall-to-wall French cleat systems, shadow-board tool walls, rolling cabinets with foam-cut drawers — all share one trait: the shop resets in ten minutes.
That's the real secret of a creator-friendly space. When your backdrop is organized, you can film anytime without a two-hour cleanup. Budget version? Pegboard and a Saturday. It's the single highest-ROI upgrade for anyone who wants to record their work, even if "recording" just means a phone propped on a clamp for the grandkids.
The Lighting Setups That Aren't Fooling Anyone
Here's where we get a little cynical. Several of the tours featured these moody, cinematic lighting rigs — LED strips under every shelf, a key light on a boom arm, color temperatures matched across three fixtures. Gorgeous. Also, for most of them, clearly installed for the tour video itself and rarely used day to day.
The creators who actually film consistently run a much dumber setup: two cheap softboxes, a window, and a shop light bounce. If you're building a workspace you want to film in, spend $150 on lighting before you spend $1,500 on a saw. Your viewers will forgive a older table saw. They will not forgive footage shot in a cave.
Soundproofing Is the Real Flex
Nobody makes a thumbnail about it, but the most professional-looking videos come from the quietest shops. One creator we watched had invested in rubber shop flooring, insulation in the walls, and a dust collector plumbed to a unit outside the building. The result? Voiceover recorded on a phone sounds decent.
For the home shop, you don't need the outside-unit flex. A couple of moving blankets on the wall behind your camera spot and a lavalier mic under $30 will get you 80% of the way there.
The Honest Middle Ground
Not every tour we loved belonged to a full-time creator with a media budget. Some of the most genuinely useful setups came from hobbyists with a single bench, a rolling tool chest, and a camera mounted to the ceiling joist with a lag bolt. No set dressing. No dust-free staging area. Just a person who wanted to share what they built.
That's the takeaway we keep coming back to: the shop doesn't make the video. The video makes the shop look good. Build your space for the work first, carve out one clean corner for the camera, and let the sawdust fall where it may.
Queue up a few tours this weekend, notebook in hand. Just maybe skip the ones where the ceiling costs more than your car.